Carbon fiber is not just for aerospace and sports cars—it’s also a fantastic material for DIY enthusiasts! With the right tools and techniques, you can create stylish, durable, and lightweight carbon fiber projects right from your home workshop. Whether you're making a custom phone case or reinforcing household items, this guide will walk you through the basics of DIY carbon fiber crafting.
1. Essential Tools for Carbon Fiber DIY
Before you start, make sure you have the necessary tools and materials:
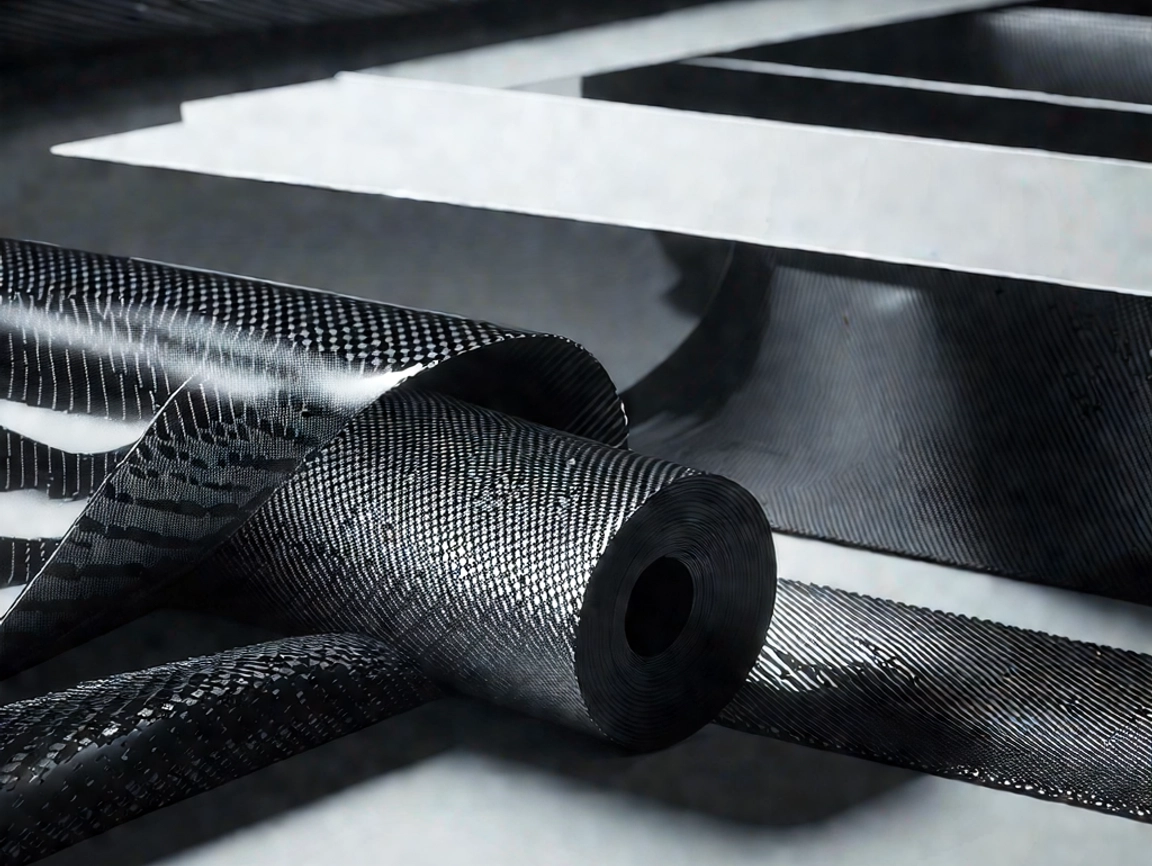
Carbon Fiber Fabric – The core material for your project.
Epoxy Resin & Hardener – Binds the carbon fibers together.
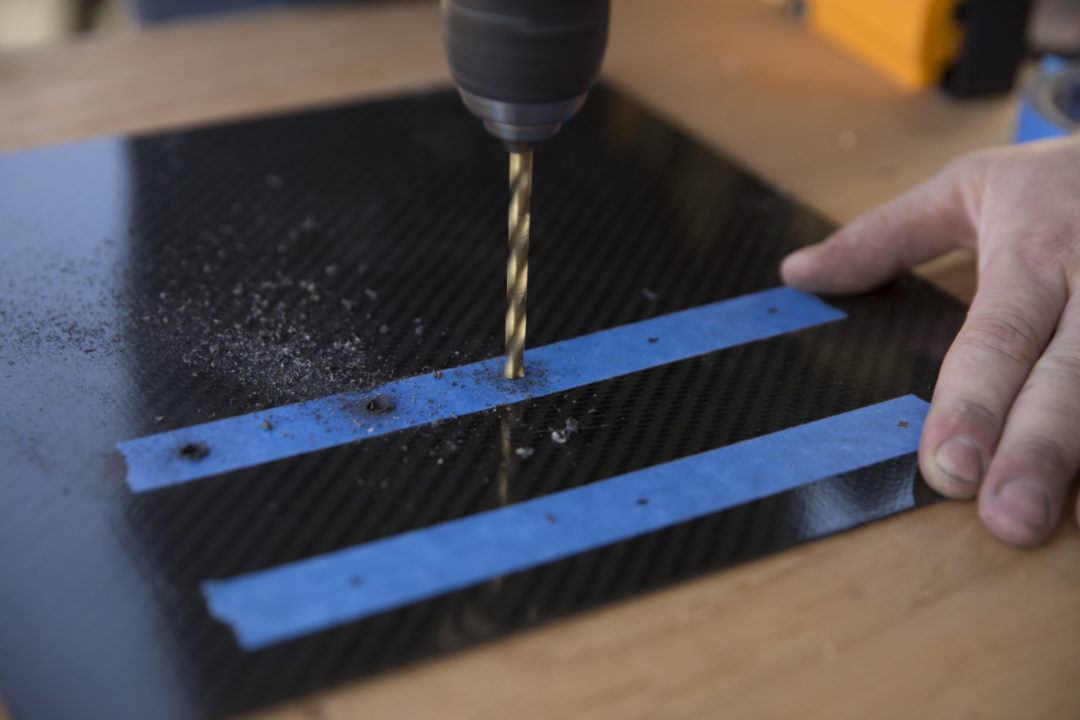
Scissors or Utility Knife – For cutting carbon fiber sheets.
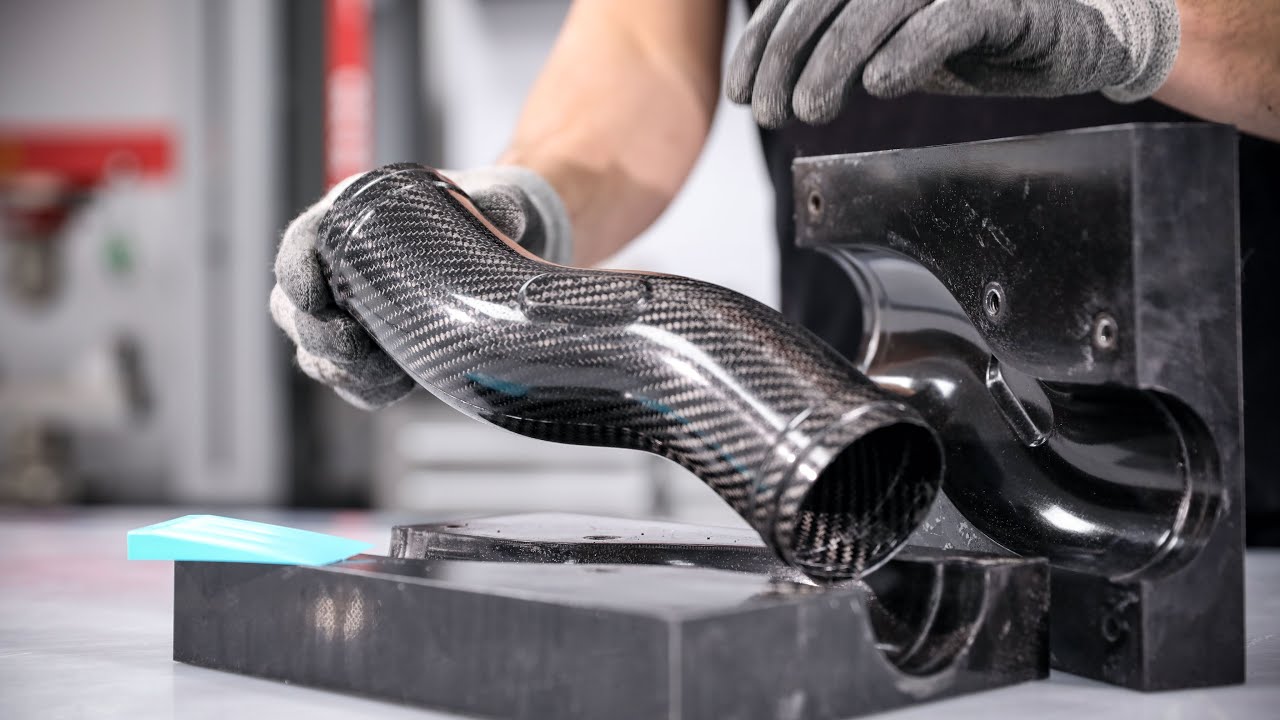
Mold or Base Object – A form to shape the carbon fiber around.
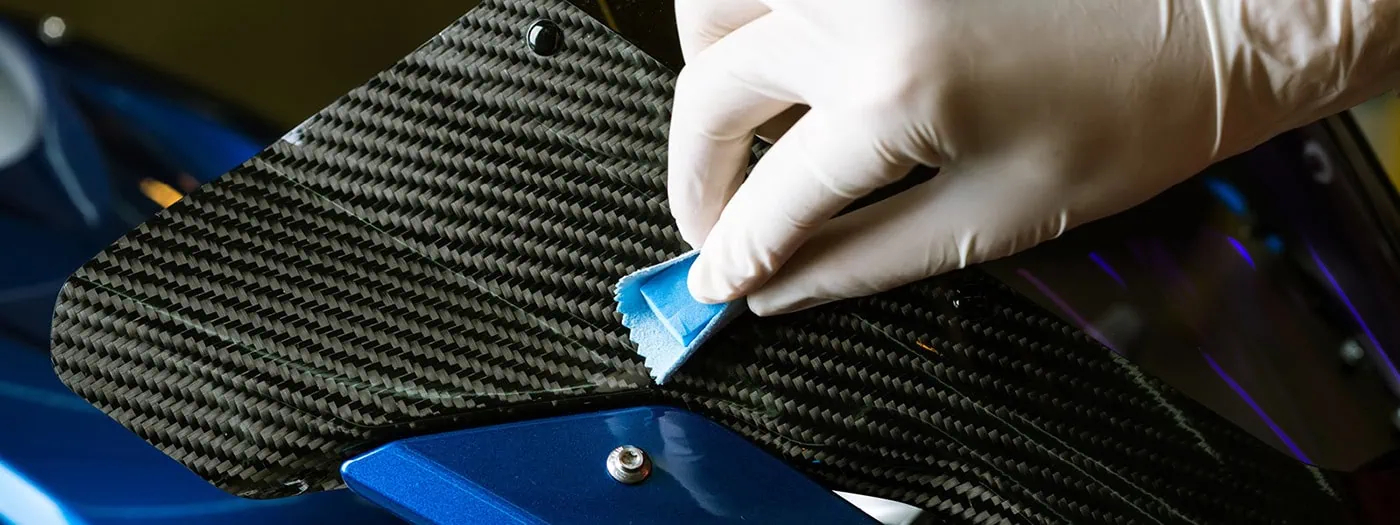
Gloves & Safety Glasses – Essential for handling resin and fiber dust.
Vacuum Bag (Optional) – Helps remove excess resin and improve the final finish.
Sandpaper & Polish – For a smooth and glossy surface.
Having the right tools ensures a clean and professional-looking result.
2. Simple DIY Carbon Fiber Projects
Not sure where to start? Here are some beginner-friendly carbon fiber DIY ideas:
Custom Phone Case – Give your phone a sleek and lightweight carbon fiber finish.
Laptop Cover – Protect your laptop with a stylish, durable cover.
Wallet or Cardholder – A strong, lightweight alternative to leather or plastic.
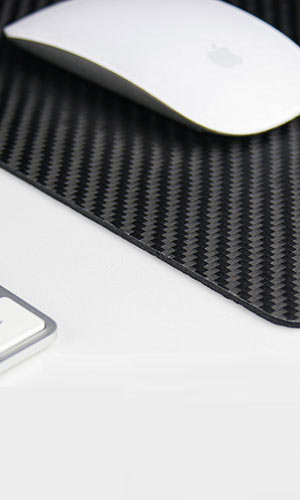
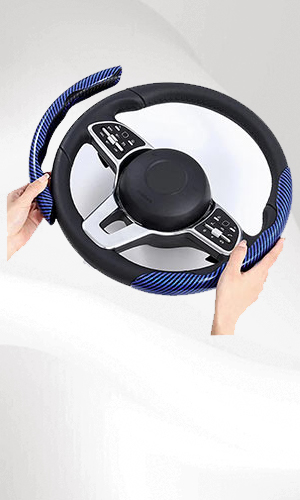
Car Interior Trim – Add a high-tech touch to your dashboard.
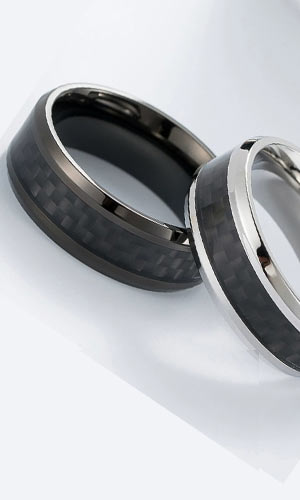
Decorative Accessories – Keychains, coasters, or even custom jewelry.
These projects require minimal materials and are great for learning the basics of working with carbon fiber.
3. Step-by-Step Guide to DIY Carbon Fiber Crafting
Step 1: Design & Preparation
Choose or create a mold or base for your carbon fiber. You can use an existing object, like a phone case, or create a custom mold from plastic or foam.
Cut the carbon fiber fabric to the required size.
Step 2: Applying Resin
Mix the epoxy resin and hardener according to the manufacturer’s instructions.
Use a brush or roller to apply an even layer of resin to the mold.
Carefully lay the carbon fiber fabric over the mold and press it down gently.
Step 3: Curing & Shaping
Apply additional layers of resin as needed, ensuring full coverage.
If available, use a vacuum bag to remove air bubbles and excess resin for a smooth finish.
Let the resin cure for 24-48 hours in a dust-free environment.
Step 4: Finishing Touches
Once fully cured, remove the carbon fiber piece from the mold.
Sand the edges (starting with coarse sandpaper and moving to finer grits) for a smooth finish.
Apply a clear coat or polish for a high-gloss effect.
Following these steps will give you a high-quality carbon fiber product with a professional look.
4. Safety Tips for Working with Carbon Fiber
Working with carbon fiber involves handling fine fibers and strong chemicals. Keep these safety precautions in mind:
Wear gloves and protective glasses to avoid skin and eye irritation.
Use a respirator mask to prevent inhaling carbon fiber dust.
Work in a well-ventilated area when applying resin to reduce exposure to fumes.
Dispose of waste properly, including leftover resin and carbon fiber scraps.
Safety first! Taking these precautions will ensure a smooth and hazard-free DIY experience.
Conclusion
DIY carbon fiber crafting is an exciting way to explore this high-tech material while making custom creations for personal or practical use. Whether you're adding a sleek finish to your gadgets or experimenting with structural applications, the possibilities are endless. Ready to start your first project? Grab some carbon fiber, follow these steps, and create something truly unique!